Welcome to Pink Glitter!
I am sharing a project today that I
pictured in my mind and was actually
able to accomplish!
Sometimes I see a cute project and
decide to try and make it and I end up
with what Andrew would call
"an epic fail".
Well, not this time, Glitterinas!
Let me show you.....
I had these pieces of old barn wood and thought they'd
work for this project!
I had these pieces of old barn wood and thought they'd
work for this project!
This was the picture on Pinterest.
So, I had the wood, now I just had to pick out
some paint and paper.
I liked this paper for the first board......
I gave it a quick trim so
it would fit on the quirky little
curve at the end of this board.
Great!
I painted on a layer of
Mod Podge, placed the paper down, and
applied another layer of Mod Podge.
On to the next piece of wood....
......and this piece of paper.
I decided to use some real bottle caps on
top of this piece of paper.
I also decided to paint the ends of
this wood a very light blue....
.....paint on the ends and paper Mod
Podged on in the middle.
When the paint and Mod Podge were all
dry I was ready to sand the edges a
bit.....
.....now it's time to add the bottle caps.
I didn't want the glue I used to attach
the bottle caps to show around their edges.
So, I used some thin foam cut into small
squares.....
......to actually attach the bottle caps
to the wood.
The small pieces were glued inside the caps and then using
some more hot glue, each bottle cap was
attached to the wood.
That's it, Glitterinas!
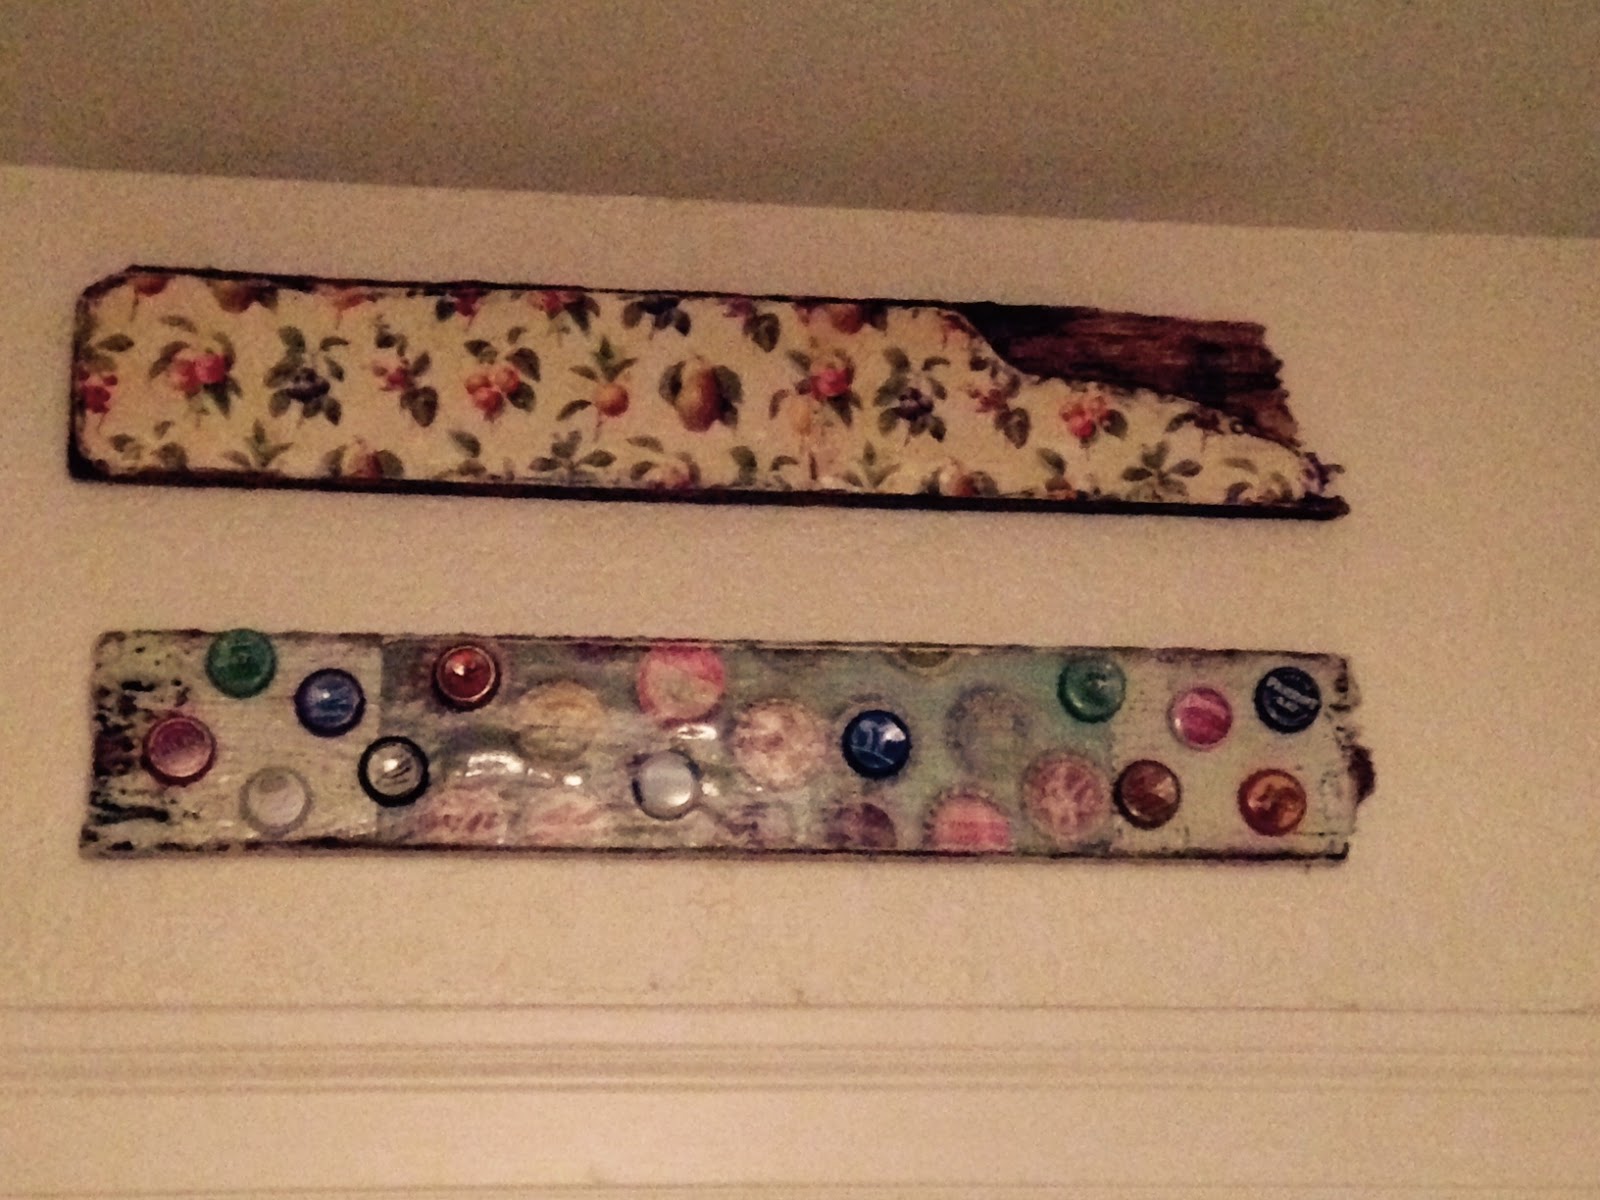
Husband added a hanger to each piece of wood and
hung them above the kitchen door that
goes to the laundry room.
Thank you so much for stopping by to
check on things here at
Pink Glitter!
I hope you are having a terrific year
so far......2015 is off to a good start at our house!
Leave me a comment to let me know what you
think of my little barn wood project!
Hugs and glitter,
Tammy


No comments:
Post a Comment